


Guide to Hanging a Chandelier
Hanging a new chandelier can seem like a difficult task. It's not just about making your space look fancy—it’s also about doing it right and safely. By reading on, you're going to know how to hang a chandelier right with some easy-to-follow steps.
You'll learn how to prep your chandelier for installation so there are no surprises halfway through the job. You’ll find out the sweet spot for height that makes sure your room shines in all its glory.
We've got tips on tweaking chain length and threading those wires without causing you a headache. And finally, we'll walk you through those last steps to bring it all home. So let’s get started!
Safety First
Make sure that you turn off your circuit breaker before handling any wires, safety should be a top priority in installing any light fixture in your home.
Preparing Your Chandelier for Installation
Before you begin the actual installation, it's crucial to get your chandelier ready. This involves several preparatory steps that will ensure a smooth and safe installation process. You'll need to unpack the chandelier, check for any damage or missing parts, and familiarize yourself with the manufacturer's instructions. Generally, some chandelier types like glass and crystal chandeliers should be handled with a bit of extra care.
Determining the Correct Height for Your Chandelier
Think of your chandelier as a top hat. Just like you wouldn't wear it tilted or too high on your head, you shouldn't hang your chandelier at just any height. The magic number is often found in the balance between form and function.
The rule of thumb says that for every foot of ceiling height, allow 2-3 inches of chandelier height—so if you've got an 8-foot ceiling, aim to hang yours about 16-24 inches below. But let's be real: rules can be bent for dramatic effect or design preference. For instance, over a dining table or coffee table? You might want to lower that beauty down just enough so it lights up those late-night card games without smacking someone in the forehead during an enthusiastic gesture.
To get this spot-on, use adjustable chains—you don’t want to end up with a lighting limbo situation after all. A measuring tape will become your new best friend here; measure twice and hang once because nobody likes doing things over (especially when there’s electricity involved). Remember: safety first.
Measuring and Adjusting the Chain Length
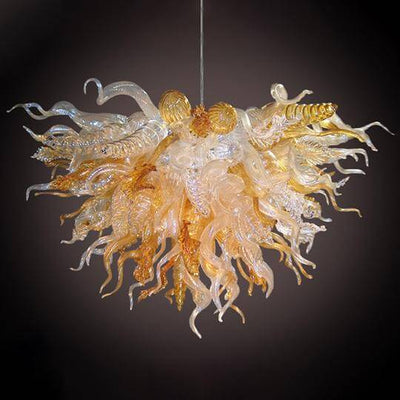
You've picked a stunning chandelier from ATY Home Decor, but before it dazzles your guests, you need to hang it just right. Think of Goldilocks—not too high, not too low, but just perfect. So grab your tape measure; it's time for some precision work.
To start off strong, spread out the chain next to a ruler or measuring tape on a flat surface. This is no time for guesswork—accuracy matters because every link counts in achieving that ideal drop from ceiling to bulb. Once you have the total length noted down, hold up the chandelier at your desired height (get someone's help if needed).
Now here comes a bit of DIY magic: removing extra links without cursing up a storm. If necessary, watch an instructional video first because visual aids can be lifesavers when working with intricate details like this one. Use pliers to twist open the link where the measurements say "stop". Remove any extras and then secure everything back together securely. Your installation should now be halfway complete.
Weaving Electrical Wires Through the Chain
Threading your chandelier's electrical wires through its chain is like guiding a ship through a narrow canal; it requires precision and care to avoid any mishaps. You want that clean, elegant look with all the safety boxes checked off.
To start, straighten out the wire to prevent kinks as you feed it into one end of the chain. Think about how thread passes smoothly through a needle eye – that’s your goal here. Gently pull the wire from link to link, being careful not to force or bend it too much. If you hit a snag, back up gently and try again.
Once you've got your wire woven in, leave enough slack at both ends: One for connecting to your junction box and another for attaching it securely within the canopy. It's this attention to detail during weaving that can prevent potential hazards, ensuring nothing puts a damper on showing off your stunning new lighting feature.
Final Steps in Chandelier Installation
So, you've got your chandelier prepped and the height just right. Now comes the moment of truth: hanging that beauty up for all to see. First things first, let's talk about securing it firmly to your ceiling because nobody wants a surprise visit from their light fixture during dinner.
Continuing with the installation process, secure the crossbar or mounting bracket onto the electrical box, allowing for a stable foundation. Thread the wires through the collar loop and canopy, ensuring a seamless and secure arrangement. Enhance stability by securing the chain to the collar loop.
Proceed by gently guiding the chandelier's wires through the collar loop until they emerge toward the electrical box.
Making Electrical Connections
Connect the bare ends of the wires by matching colors, twisting the connections securely, and employ wire nuts for an additional layer of safety. This meticulous approach not only reinforces the chandelier's stability but also prioritizes the safety of the electrical connections, contributing to a reliable and secure installation.
The Finishing Touches
After successfully securing the electrical connections, ensure a tidy arrangement by carefully tucking the connected wires into the electrical box. Following this, thread the canopy over the collar loop and meticulously tighten it using the collar ring, guaranteeing a snug and secure fit for the entire assembly.
With the fixture securely in place, proceed to the final steps. Install the designated light bulbs. Once all the connections and components are in place, it's time to power on the chandelier. This series of meticulous steps ensures not only a securely assembled chandelier but also a visually stunning and well-lit living space.
When you're all done, bask in its glow—you've earned it after acing this DIY project.